So what to do?
How about considering a conversion van? A conversion van is much less expensive in cost and to operate than a large RV. It’s as easy to drive as an SUV or Minivan. It can also be used as a daily driver and can be parked in a regular parking space. I personally opted for a RAM Promaster High-Top Cargo Van.
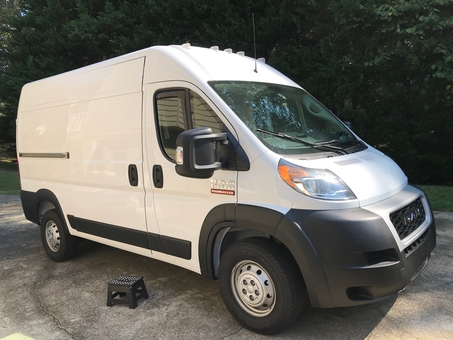
RAM Promaster High-Top
The RAM Promaster is quite spacious and the high-top provides even more space and affords one the ability to stand and walk around erect. The passenger side of the van has a very wide sliding door that affords one a comfortable way in which to enter or exit the van.
But best of all in my opinion is the van is affordable for the average family. Once converted, it’s practical enough to run local errands and can be your “entertainment on wheels.”It can be great for family camping, tailgating, etc.
You can build out the conversion yourself or have someone do it for you. I bought the basic cargo van and converted it myself in a matter of 5-6 weeks, working only part time on it. It doesn’t have to be all that elaborate to be comfortable and functional. I insulated the floor and wheel wells quite well so as to keep road noise to a minimum.
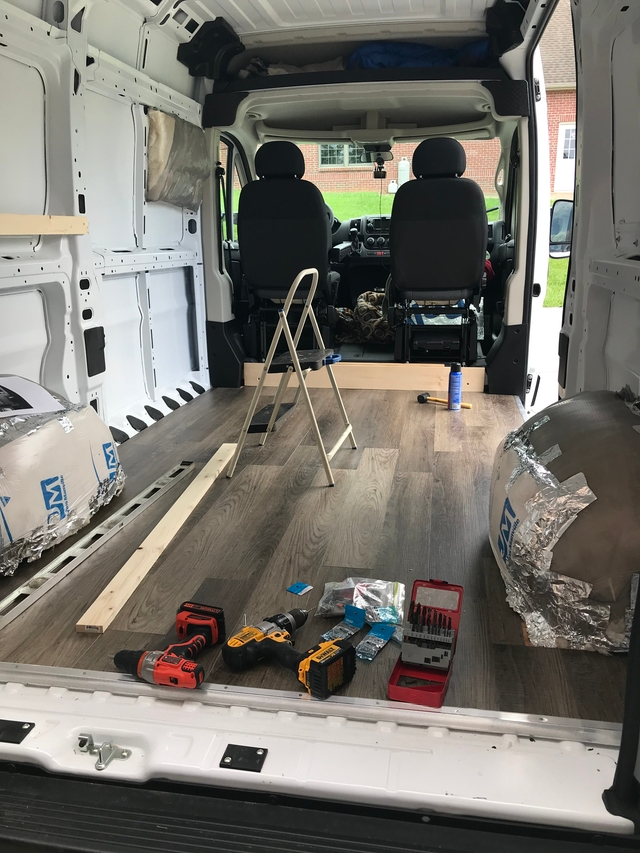
Floor in and Insulation next
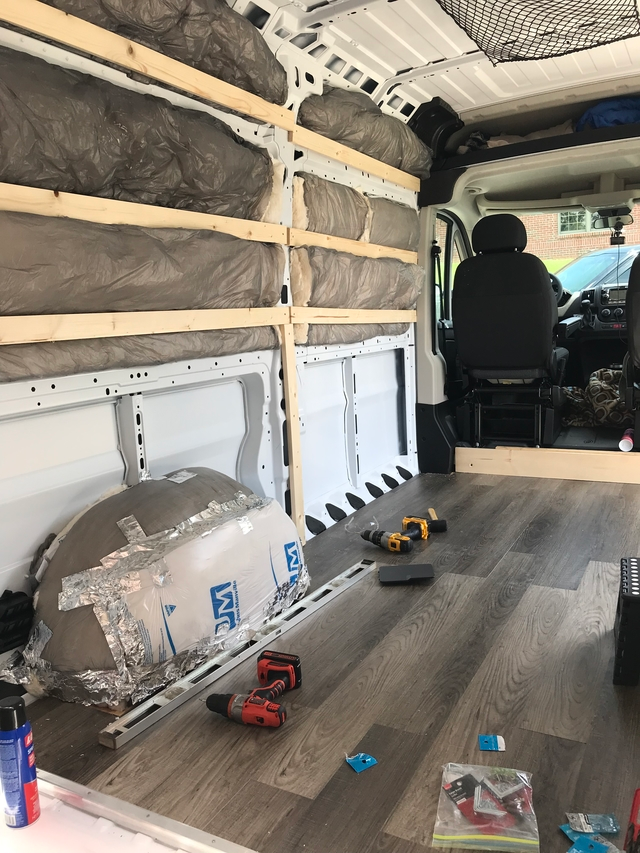
I also insulated the walls and ceiling. This not only keeps the noise down, but will keep it warmer in the winter and cooler in the summer.

Insulation in walls and paneling started
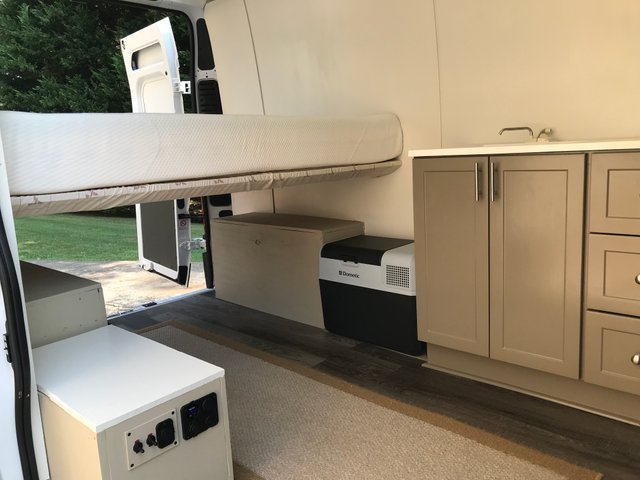
I installed a cabinet and a sink. Water is provided by a 6 gallon water container that sits in the cabinet and I installed a manual water pump.
The used water will then drain into another (gray) water container also stored in the cabinet. A simple set-up but that’s all I wanted or will need as most of my camping is solo in off-grid, boondocking areas. I also built a bed and attached it to the van’s frame, so it’s very sturdy.
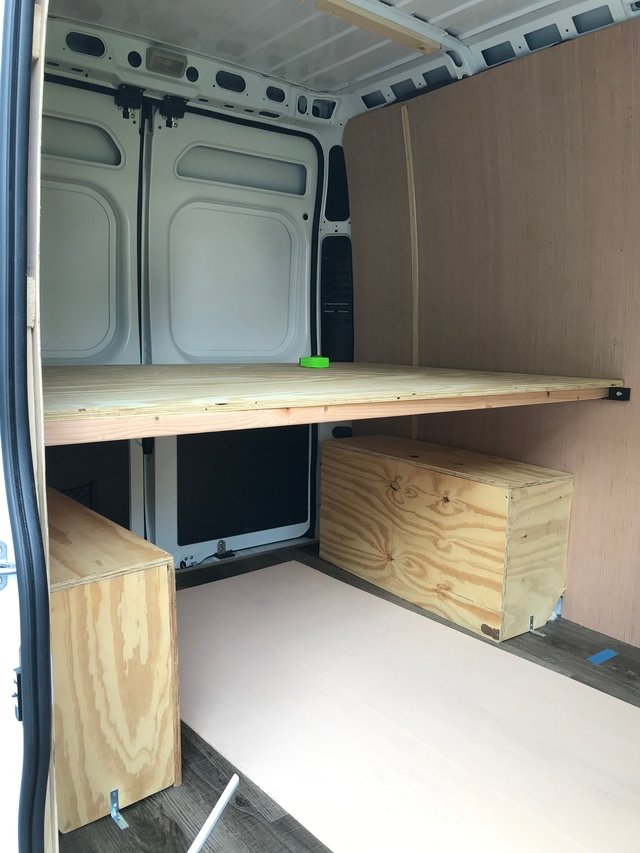
Bed frame installed
Underneath the bed is a large enough storage area for anything I would ever need to carry including a bicycle.
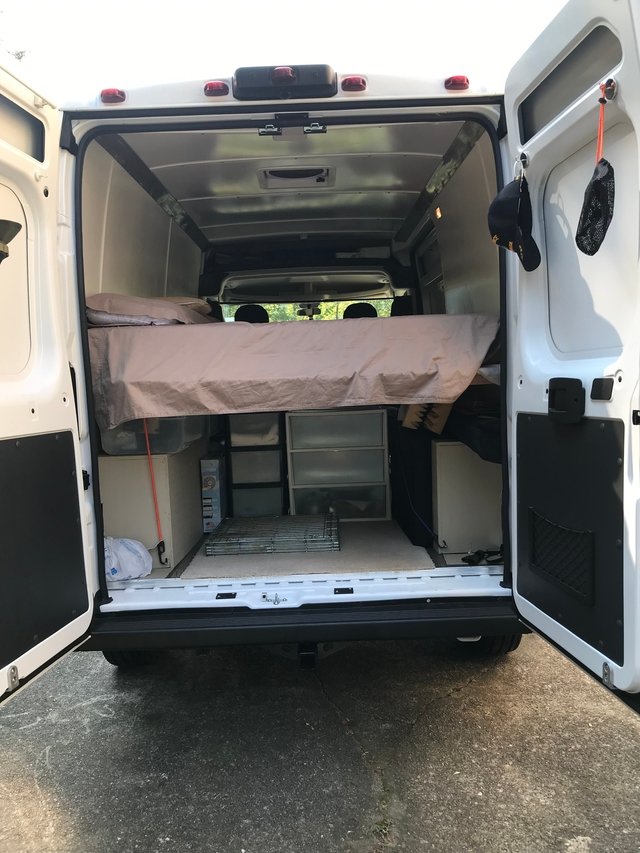
View of bed from rear and garage area (storage under bed)
I have solar panels and a sealed AGM (house) Battery that provides enough (free) energy to power my refrigerator, MaxxAir Fan, power inverter and lighting when off-grid which accounts for approximately 95% of my camping.
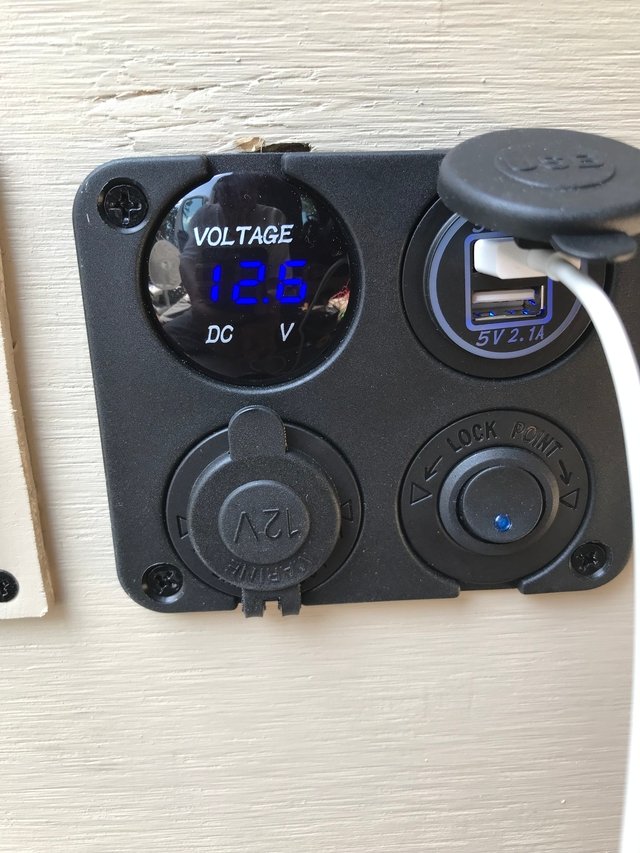
House battery box with plug-ins
My total cost for material to convert the van was less than $2500.00. Since I did the conversion myself, I had no labor costs. This was a very inexpensive build out. Of course this amount does not include the MaxxAir Fan, refrigerator, solar panels or house battery.

Interior almost finished
I might also mention that this is not my first conversion van. In the mid 1970’s, I bought a Dodge cargo van and converted it, well before converting vans was a popular thing to do.
Ready to hit the road
If you liked this article, please follow me. I’ll be bringing you more good quality content in the weeks to come.”
Stay tuned for part 2 coming soon.